Showing posts with label beekeeping. Show all posts

Saturday, April 20, 2019

2019-04-20: Hiving two packages of bees.

I had a couple of years with no bees.  First, I did not find out that they had died over the winter a couple of years ago until it was too late to order new bees.  Then, it sort of slipped my mind last spring.

So, this year, I ordered two packages from my usual supplier, Nature's Nectar.  I had one package each of Carniolan Honeybees and Italian Honeybees.  I did not really care which bees I got, but I usually do not get two of the same subspecies.

This was the first year that my packages were plastic.  I like the old wood and metal screen ones better, since I can see the bees easier.  I also would learn that it was easier to spray the bees with sugar water through the metal screen compared to the plastic packaging.

It was about a two-hour drive home, but the weather was mild; the bees probably did not get too hot.

I picked up the bees at 0915, but they suggest that you do not hive them until the evening.  So, they sat in the cool garage for most of the day.  I sprayed them with sugar water once to feed, calm, and cool them.

Finally, 1800 arrived, and we were ready to hive the bees.


I have the two packages of bees, and I'm wearing my bee suit.  If you watch other people's videos, they often don't wear a bee suit.  The reason is that the bees do not have a hive to protect, so they tend to be more docile.


Here I am with my helper, Vaughn.  I'm having some difficulty uploading the videos, so I'll outline the steps that we did:
  1. The syrup-soaked bees will be "poured" into the center of the bottom (and--at this time--only) hive body, so we removed the center four or so frames.
  2. Plug the entrance with the entrance reducer on the smallest setting and block that temporarily with a wad of prairie grass.
  3. Soak the bees well with syrup from the spray bottle.
  4. Use the hive tools to pry the metal can from the package.  (This is the syrup the bees ate during their trip from CA to MN and then from Stillwater to me.)
  5. Once the can is out, spray the bees some more.
  6. Remove the queen's cage (she is transported separately) and set it aside.
  7. Knock the bees to the bottom of their package by striking the package against the ground.
  8. Pour the syrup-soaked bees into the hive.
  9. Leave the mostly-empty package near the entrance so the bees can eventually get into there (the bees will probably push the grass out of the hole over the evening).
  10. Take the wood cork out of the queen's cage, and replace it with a mini-marshmallow.
  11. Put a pollen patty on the top of the frames for the bees to eat until they can bring in a good supply of pollen from plants.
  12. Put on the inner cover (the board with an oblong hole in it).
  13. Put the feeder pail over that hole so that the bees can feed from that until they are able to bring in nectar from flowers.
  14. Put an empty hive body over the pail.
  15. Put the outer cover over the empty hive body.
The next step, which we will probably do tomorrow, is to check the queen's cage.  Ideally, the marshmallow will have been eaten by the bees so that the queen can exit the cage and start laying eggs.

Monday, April 11, 2016

Beekeeping Reboot.

For the last three beekeeping seasons, I have been using five medium hive bodies for my hive's brood chambers.  It doesn't sound like much, but having to deal with a five-box hive is more time-consuming than I thought it would be.  So, this year, I bought new hive materials that would allow me to move to a hive that is comprised of three deep hive bodies.

My bees arrived yesterday, so I was busy last week getting the hives assembled and painted.

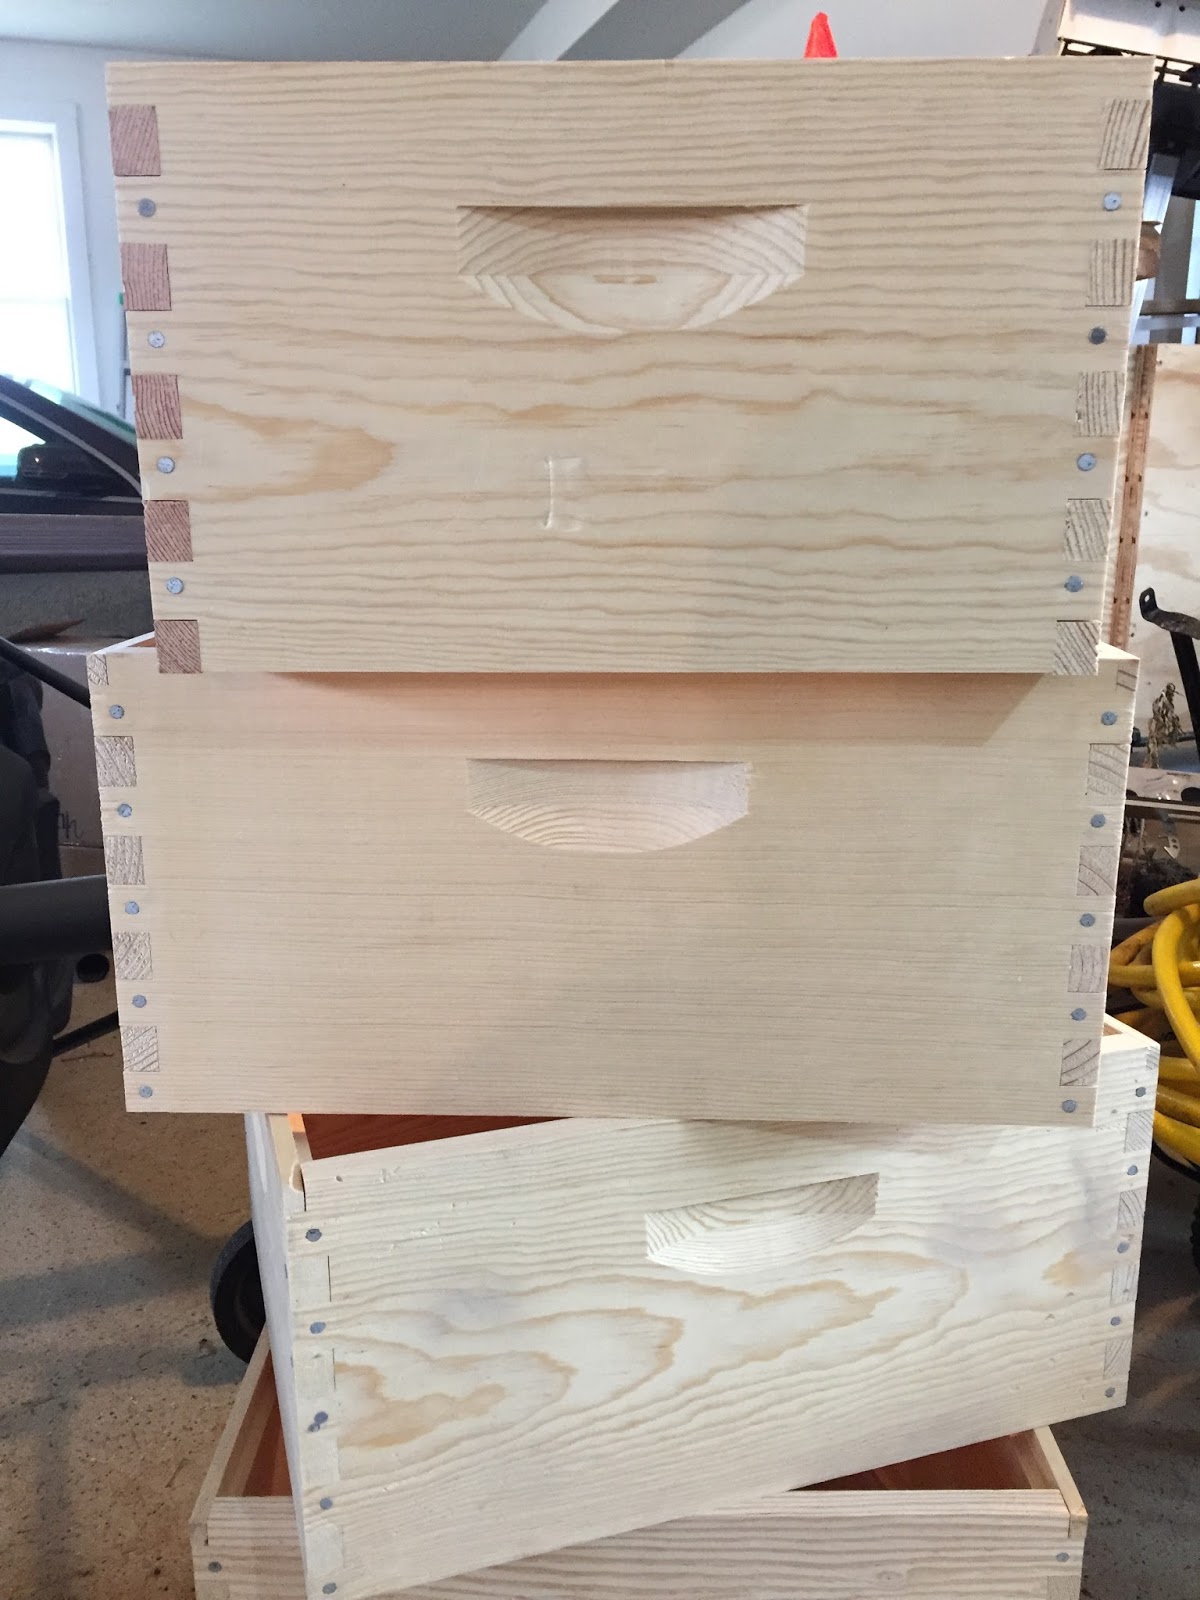
I purchased unassembled hive bodies and nails from Mann Lake, Ltd.  Below is a picture of some of them assembled.


Here is one primed and with the hole in place.


Here is a shot of one of my "employees" painting a hive body light blue.


I also ordered new outer covers, inner covers, and screened bottom boards.  I decided to try black foundation for the frames this time.  It is supposed to make it easier to see the eggs and small larvae.  Below is a picture of an empty, assembled frame.  Below that is a picture of the foundation that will go into those frames.  Below that further are the assembled and painted pieces on our lawn, airing out.


Lastly, pictures of the assembled, painted, labelled hives.  They are on their stand and ready for bees.


Saturday, April 4, 2015

New bee arrival date; hives ready.

The bees now arrive on April 18, 2015.  The distribution center is Nature's Nectar in Stillwater.  Pick-up day is very busy, and Nature's Nectar used to have certain times that you could arrive--depending on your last name.  If you are far enough away (as I am), I think you can show up whenever you are able.

The hives for spring 2015:  Langstroth (Hive A), a Kenyan top-bar hive (Beta), and another Langstroth (Hive B)

The hives are ready to go.  I had to (or decided to) throw away many frames after my bees died during the winter of '13 - '14.  I believe that they just died from a cold snap and not from any diseases.  There was some rotting of the bees and many of the frames were, I though, no longer useful.

So, I'll need to order about 100+ frames, I think.  Both A1 and B1 need new frames.  Also, as I might show you in an upcoming post, I think that Beta is going to also use those frames.

I have some pollen patties from the first season that I had the bees, 2013.  They've been in the refrigerator since then.  They may still be good, but I don't know how to determine that, frankly...

I'm also struggling with how I'll feed syrup to the bees in Beta.  I may have to use an external feeder and just hope that A1 and B1 leave that syrup alone once they find their own syrup in their hives.

Thursday, August 1, 2013

Flowers and bees on flowers.

Our prairie and homesite has many flowers for the bees...

Common Milkweed in bloom

Large patch of Blackeyed Susans

Honeybee on Blackeyed Susan

Honeybee on Blackeyed Susan, closer

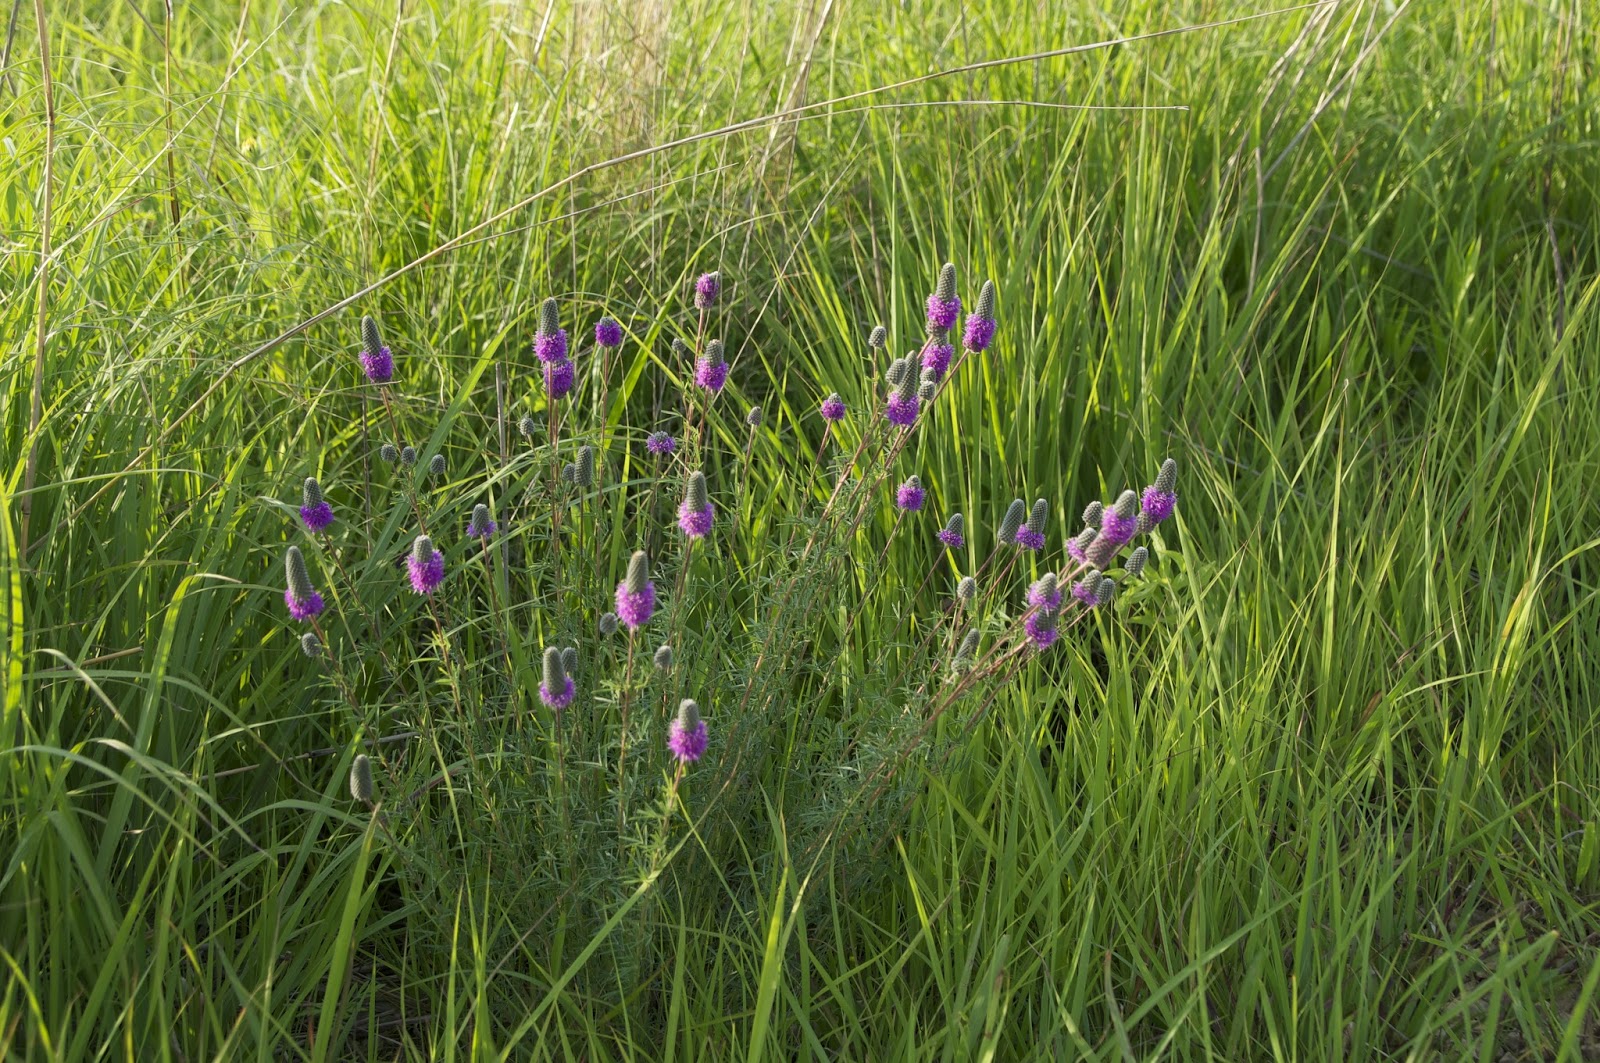
Purple Prairie Clover

Purple Prairie Clover, closer

Prairie False Indigo in bloom

Prairie False Indigo in fruit

Closer view of Prairie False Indigo fruit

Blue Vervain or Hoary Vervain, not sure which...

First inspection with two boxes on each hive, part 2.

Fourth inspection of Hive A and Hive B, Sunday, 6/16/13:
[Note:  This is follow-up to the July 7, 2013 post, with video links below.]

To recap, this was day 43 for the hives, with the packages having been installed Saturday the 4th of May, 2013.  We were able to do a full inspection today, as the weather was in the mid-70's.  The inspection started at about 1820.  There were two boxes on each hive, and I felt a bit more rushed for time.  But, overall it went well.  Inspection ended at 1850.

The videos (part 1 and part 2) tell most of the tale.  It was fun to see the bees moving into their second box and drawing out more comb.  With how much wax they were making (and how little syrup they were taking in), they were clearly finding a great deal of nectar in the wild.

Saturday, April 20, 2013

University of MN Northern Climate Beekeeping Short Course.

I continue to blast posts into this blog today in an effort to catch up...

Over the first weekend in March (March 2 and 3, 2013), I took the University of Minnesota's Beekeeping Short Course.  This was very interesting, but I had learned a lot of it from books, YouTube, and other sources.  But, they also had vendors, honey-tasting, product demos, etc.  I joined the Minnesota Hobby Beekeepers Association (MHBA), and they gave me a free hive tool!  We also won some pollen patties.

On the second day of the course, I ordered two packages of bees.  For many reasons, I had decided to start with two hives.  The main reason was that I wanted two hives is to be able to compare them.  If I have one hive, I might not know if the bee activity (or lack thereof) is normal behavior.  With two hives, ideally, I ought to be able to notice if there is a difference of behavior between the two.

Of course, 4 - 6 hives would be an even better number.  However, upon suggesting to the powers-that-be that I start with a handful of hives, the gnashing of teeth that I heard and the profanity that was hurled at me...  Well, let's just say that I was lucky to get two hives past the household approval board.

Once I was done with the U of MN course, I was confident in what I was going to order.  I decided that I would use all mediums for my hives.  No deeps for the bodies and shallows for the supers.  This would make for some more work in maintaining the brood nest (the bottom three deeps or the bottom five mediums), especially during box rotations.  But, each box would be lighter.  Also, if ever needed, I could use frames from the supers interchangeably with frames from the brood nest.

When I ordered the bees, there were two options--Carniolans and Italians.  I ordered one of each.  As a novice beekeeper, I'm not sure that I'll be able to tell the difference.  But, I certainly wouldn't have been able to tell the difference between them if they were the exact same subspecies, so one of each it is.